DIY Corkboard
We have a whole bag full of wine corks at home that we use for all sorts of craft projects. We don't really drink wine, so we scavenge for these corks along with other reusable things like glass jars, paper, boxes, ribbons and all sorts of stuff we can use for crafting and as props for our photo sessions at home. Our small storage room under the stairs is actually bursting to the brim with our growing collection.
Since we've both been spending lots of time at home this past week, eating lots of cupcakes and cookies, we decided it was time to get out of the kitchen for a little bit of exercise. Crafting involves lots of hand movements, sweating and concentration, pretty much like exercising, so it's the closest we can get to leading an active lifestyle. Lol!
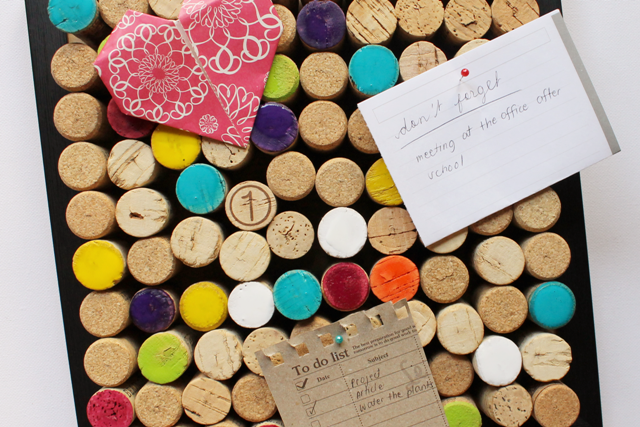
We like to leave each other notes and reminders during busy days and always write to-do lists because we are both so forgetful. There's a magnetic board that we use in our bedroom but we need another bulletin board for the kitchen so we don't miss out on anything.
This DIY Corkboard is inexpensive and fun to make, and we're really hoping you get to try this project! Before you go out to buy materials, check out the items you have lying around at home. You'll be amazed at the amount of things that can be re-purposed. We used a brand new picture frame that we found wasting away in the storage and we are glad to be putting it to good use now!
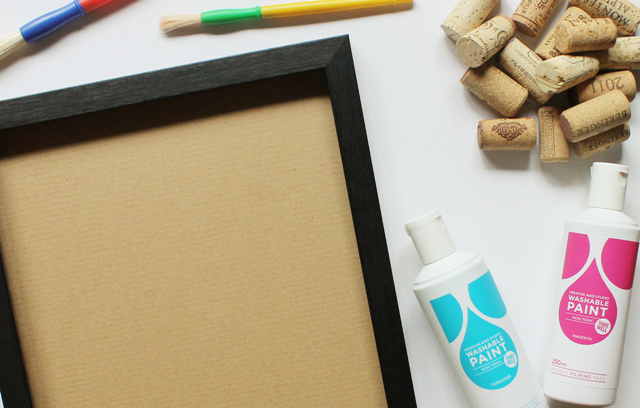
What you need:
- 1 wooden picture box frame (size depends on how many wine corks you have)
- glue gun
- glue sticks
- lots of wine corks
- paint brush
- non-toxic washable paint or acrylic paint if you prefer
How to:
Choose a work area with a flat surface and cover with newspaper or a drop cloth for easy clean up.
Preheat glue gun. Set aside.
Prepare your box frame. If it comes with a glass top, remove this and keep for future craft projects. Retain the cardboard or wooden backing of your frame. This is where you will attach your corks.
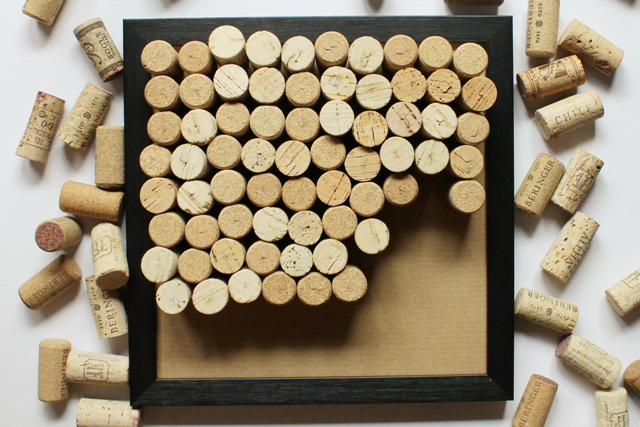
Arrange your wine corks by lining them up inside the box to figure out how many you will need. Our frame measures 12" x 12" in size and we used a total of 100 wine corks.
Using your glue gun, apply hot glue to bottom of cork and press firmly inside the frame in upright position. Continue to do this, arranging the corks in rows. Don't worry if your rows don't come out in straight lines. The corks come in different sizes so it's okay if there are gaps.
With a small brush, paint the tops of the cork in random colors to add some contrast to your board. Let dry for at least 3 hours.
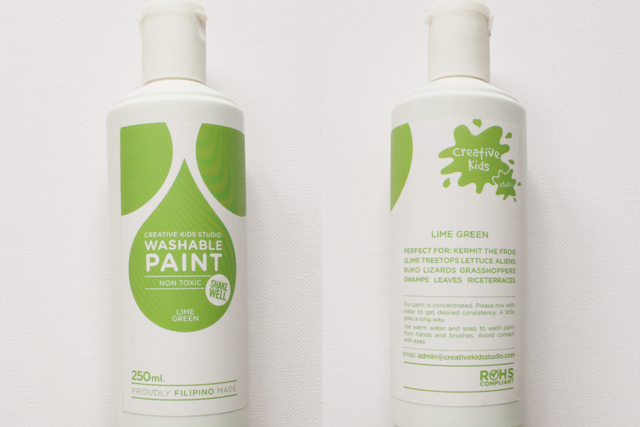
We used non-toxic washable paint from Creative Kids Studio. We love using this paint because they come in brightcolors, and sinceit's water based, clean up is a breeze.
Christmas is just around the corner and we're hoping that we have time to make homemade presents for all our friends and family. Happy crafting!
Come join Cyn and Bianca on their mother-and-daughter adventures at shesaidshesaidph.com. Follow them on Facebook and Instagram.
-----
Check out SheSaidshesaid's previous post: Kitchen Stories: Dark Chocolate Caramel Cookies