


Need to recover lost data? Here's a step-by-step guide by EaseUS Data Recovery Software
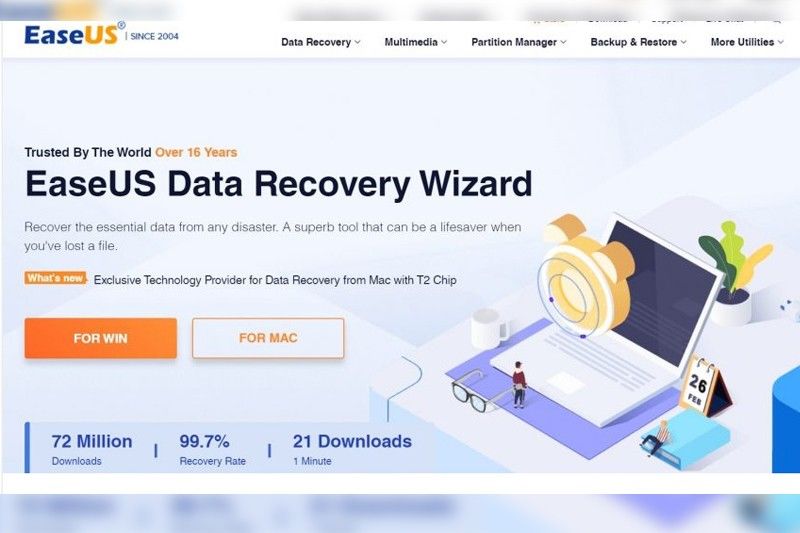
MANILA, Philippines — After earning numerous positive reviews all over the world, there is no doubt that EaseUS is one of the most effective applications for data recovery on the internet today.
This feat couldn't have been possible without its advanced features ensuring that recovery of lost files is a walk in the park.
The best part about EaseUS data recovery software is that it comes with a trial version that works similarly to the paid version—no need to pull of your credit card to pay $69.95 right off the bat. This enables you to test out its features in order to know whether it can truly meet your needs without risking hard-earned money.
Some of the features of its trial version are:
- Recovery of over 550 file types
- Handling of various data loss scenarios like format recovery, file deletion, system crash, virus attack, re-installation of OS, corrupt external drive, improper partitioning, etc.
In case you don’t believe the potentials of EaseUS, there is no problem. This is because you have come to the right place where everything about its features will be explained in details.
Here, we provide you with a complete step-by-step guide on how to use EaseUS today:
Step 1
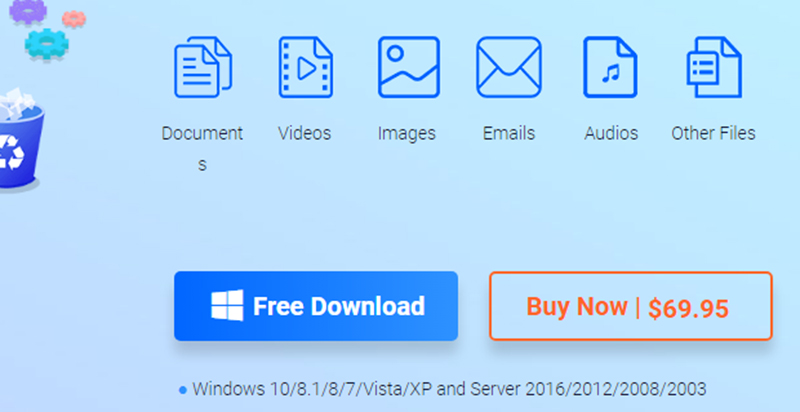
The first thing you will have to make sure is to choose a version that’s compatible with your OS. For instance, EaseUS is available for Windows and Mac users. Therefore, if you are using a Mac system, ensure to download EaseUS for Mac.
This tutorial will be focusing on Windows OS. Hit the Download button to get started.
Step 2
After downloading, install the software to start recovering lost files for free.
IMPORTANT: Make sure it is not installed on any drive you plan to recover lost data from. This will help avoid further loss of data.
Once you have completed the installation process, it’s time for the powerful software to do its job.
Step 3
Launch the EaseUS software you have installed on your PC. The photo below shows what the interface looks like after launch.
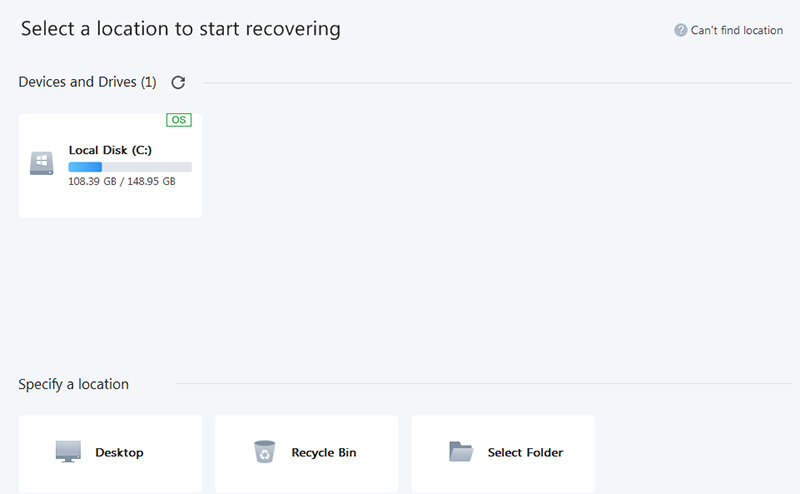
You can see that there are three scanning options:
- Desktop
- Recycle Bin
- Select Folder
Clicking on “Desktop” or “Recycle Bin” enables you to do a quick scan. Note that you don’t need to do anything when using these options as they will proceed to scan automatically once clicked on.
Alternatively, if you want to select a specific folder to scan, click on the “Select folder” option.
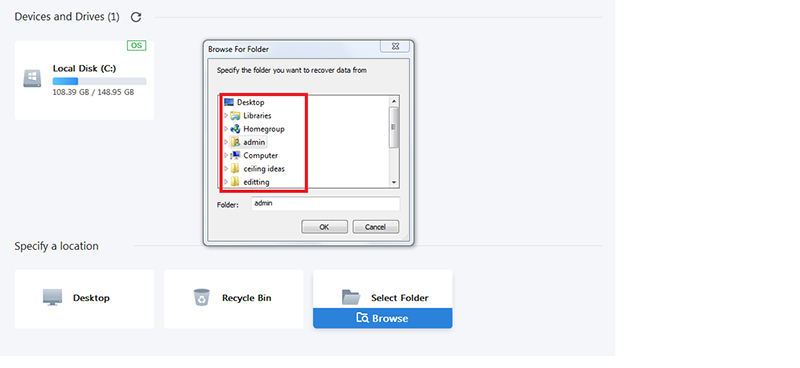
Step 4
For the sake of this guide, the “Select Folder” option will be used. Upon clicking, you will be shown something like the photo below:
Step 5
Next, choose the location you wish to recover lost files from. After that, hit the OK button to proceed, and you will be taken to a window that looks like this:
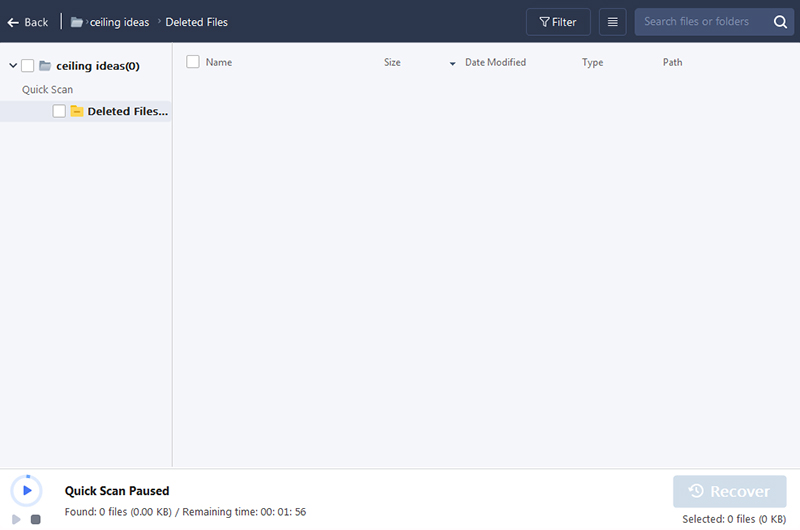
This means that the scanning process for the selected folder has commenced.
One of the advantages that the free data recovery software is the ability to pause the scanning process. All you have to do is hit the pause (II) button. To resume the process again, click on the “Play” button.
It’s also important to locate the folder where files were lost. For instance, if you deleted music files from a folder called “My Music,” for example, ensure that it is selected before clicking on OK.
EaseUS is only effective with folders where data need to be recovered from.
Completing the process
Once the scanning process is completed, you will be shown recovered folders from the selected location, as seen in the screenshot below:
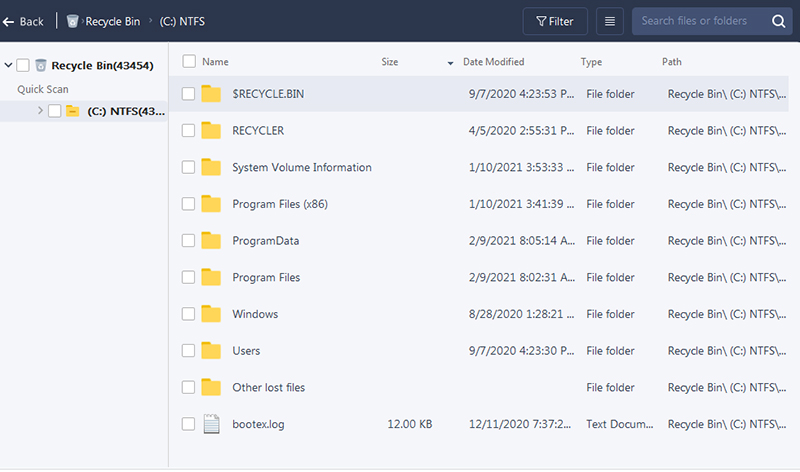
To search for your preferred folder, double-click on each folder. This will show files that have been found.
To save time, it is recommended to preview each file. All you have to do is right-click on a file (video, audio, photo, doc, or other) and then choose the “Preview” option. This will be previewed on the program’s platform:
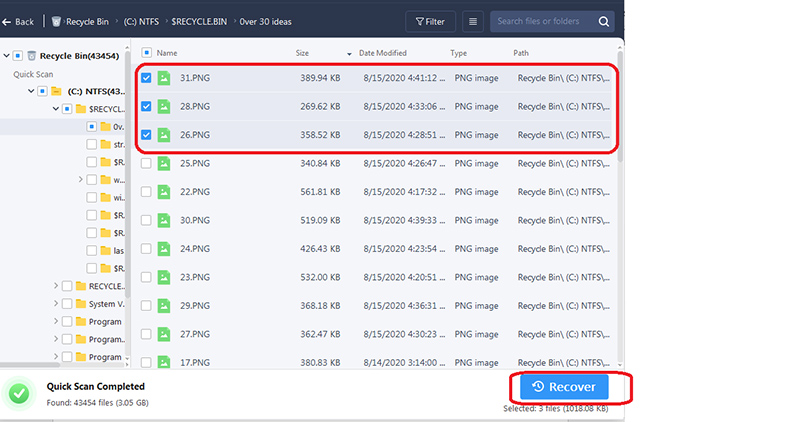
Here, you can see that three files have been selected for recovery. After selecting your own files, hit the “Recover” button at the bottom right.
Easy recovery and upgrade
EaseUS file recovery program has been developed to ensure your files are recovered without breaking a sweat.
More importantly, upgrading to a paid version gives you access to unlimited features so that you can get the best experience the software has to offer.
To upgrade, hit the “Activate” at the top right. This shows you two subscription options: 1 year ($69.95) and lifetime ($149.90). Choose the option that’s suited to your budget and you’re good to go. If you are serious about data recovery, upgrading is the best way to go.
For more information, visit the website at https://www.easeus.com.


- Latest


