How to make a silkscreen print
Printed tees don’t have to be one-style-fits-all.
Artwork’s Tinay Villamiel shows you how to do your own in six easy steps.
If, like me, you’ve dreamt of making a personalized shirt a grade above the ones you wore with your barkada in high school — with that cheeky-yet-design-conscious prototype you’ve been working on, a quote from a seminal body of work (Mean Girls, Kanye West), or none of the above — just a very vague set of words punctuated rather randomly, then this DIY is for you. Consider it an act of redemption, or just a crafty way to spend an afternoon.
We’ve consulted Tinay Villamiel, pedigreed in printmaking, et al. Tinay grew up in the shirt business with a family venture, design-savvy apparel brand Artwork, and now as the owner and designer of Bleach, a forward-thinking lifestyle store with an undone twist. This week, Tinay breaks down the silkscreening process for Young STAR. Take notes.
* * *
Materials needed: Wooden frame with screen (you may purchase them separately and make your own, but make sure the fabric is polyester), photo emulsion, ink, squeegee, basic Photoshop skills
 Step 1:
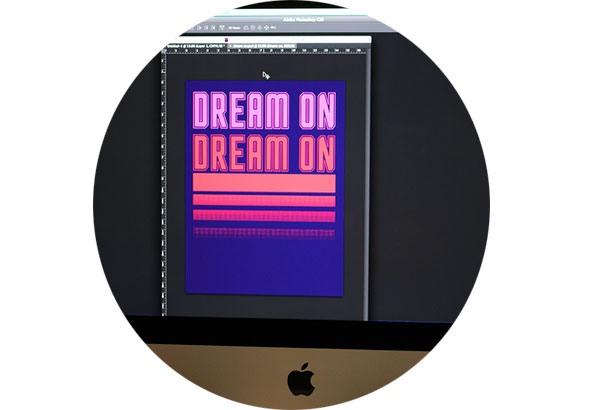
Once the graphic design layout is done, make sure that you have separated the colors per layer through Photoshop. Put common registration marks on four corners of each layer.
 Step 2:
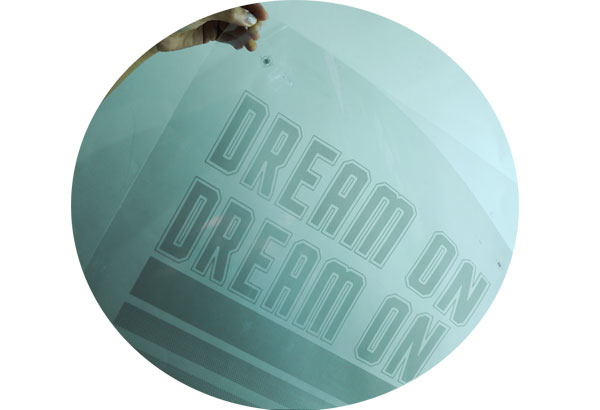
Convert all the layers in black and print each on a tracing paper or acetate film.
 Step 3:
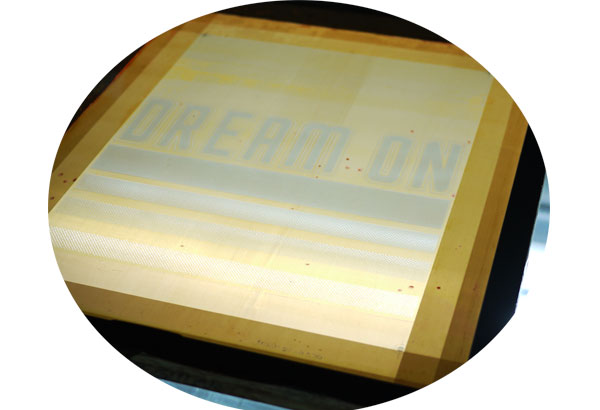
Expose the film and prepared silkscreen (with photo emulsion) to light to transfer the design on to the silkscreen. After 10 minutes, wash the silkscreen until design is shown. Apply reinforcement chemicals then let it dry for 15 minutes.
 Step 4:
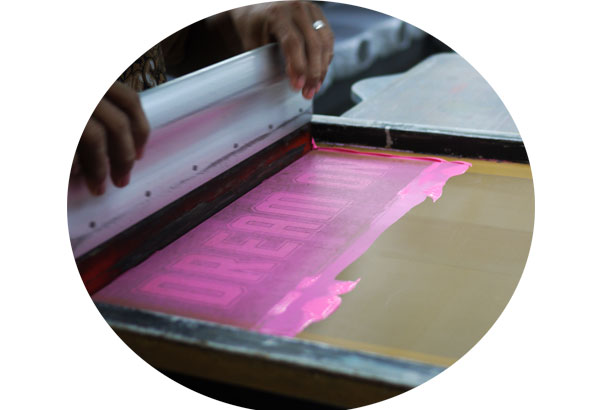
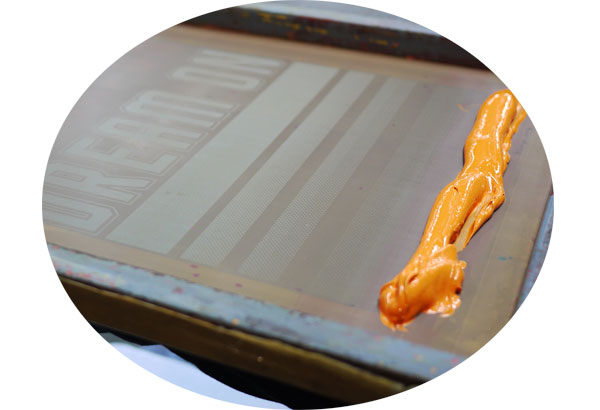
When silkscreen is dry, you may now start using it by applying the first color. Get a squeegee that is an inch wider than the design. Pour textile paint on silkscreen and start printing with a few vertical strokes depending on the vibrancy of color you would like to achieve.
 Step 5:
When first color is done, let it dry by using a blow dryer for about 40 seconds before applying the next color.
 Step 6:
Apply the next color.
 Step 7:
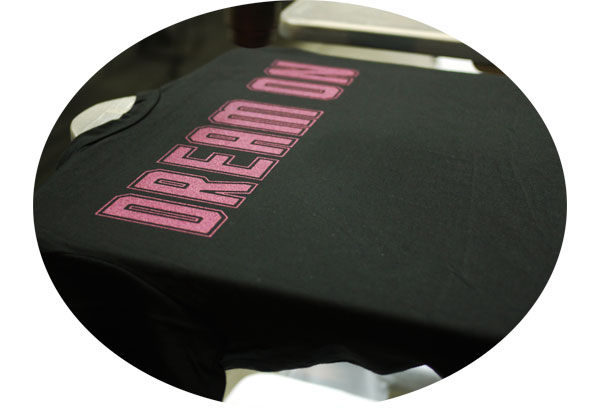
When design is complete, blow-dry it again for a minute and let the T-shirt air-dry for 36 hours before washing.